Plastic bottle -watering artifact
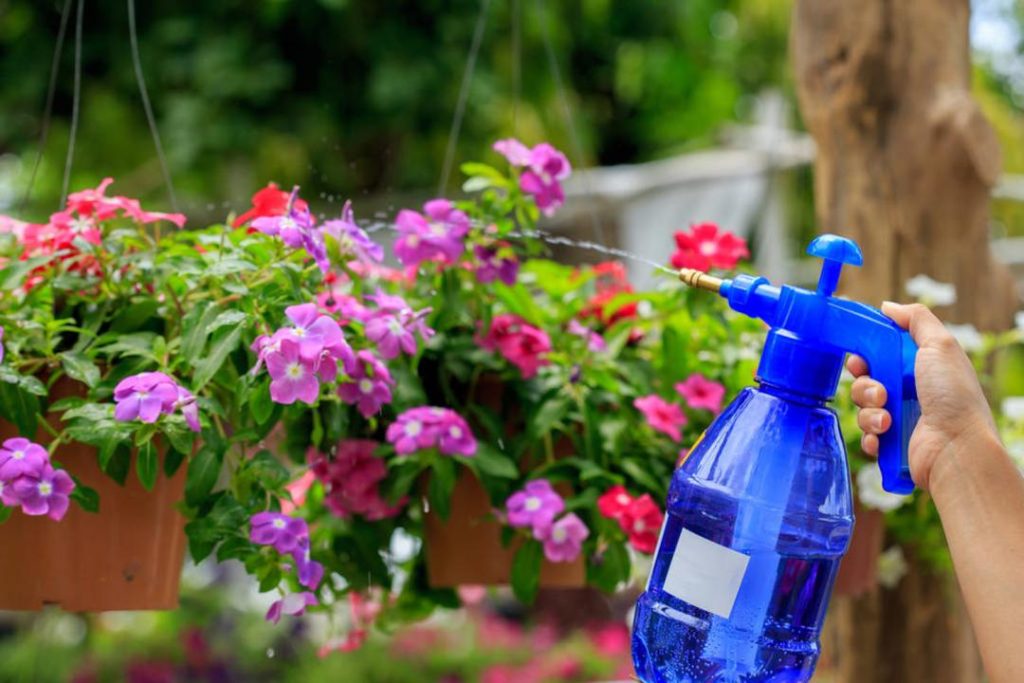
Mooth watering is a troublesome thing. Watering with a kettle, you accidentally pour it on the leaves, causing rotten and rotten stems. How can we solve this pain point? Simple! A plastic bottle can be achieved!
first step
Find a plastic bottle, keep the plastic bottle cap on the top, don’t throw it away!
Step 2
Pick off the plastic cover, pinch the plastic cover with tools such as pliers, and bake it softer with a lighter small fire baking plastic bottle with one hand.
Step 3
Like the picture below, find a toothpick, and slowly poke out from the inside in the middle of the plastic cover. When poking, it should be stable. Do not shake left and right until you poke out a beautiful small cone.
Step 4
Poke the beautiful cone, don’t rush to pick off the toothpick, put it in a ventilated place, dry it naturally, wait for thoroughly, and then remove the toothpick.
Step 5
The cone -shaped holes are made. Below we can use scissors to properly cut off the tip of the top to allow the water to flow out.
Step 6
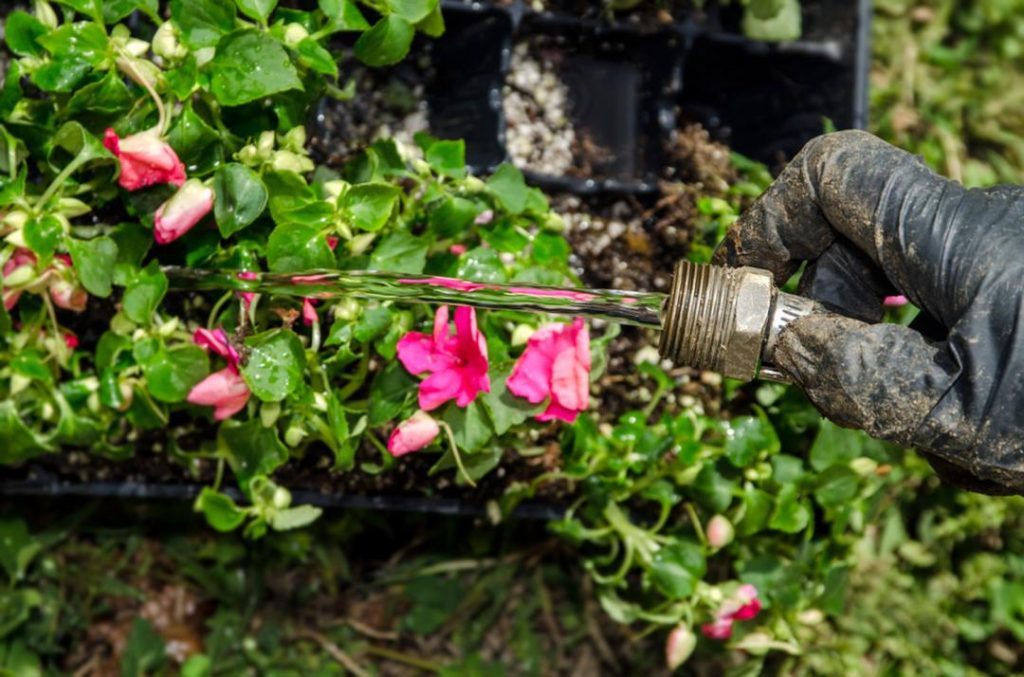
The last step is to fill the plastic bottle with water and cover it with the pre -made lid, just! When watering, pinch the bottle body of the plastic bottle can flow out of small water flow from the bottle cap.
Step 7
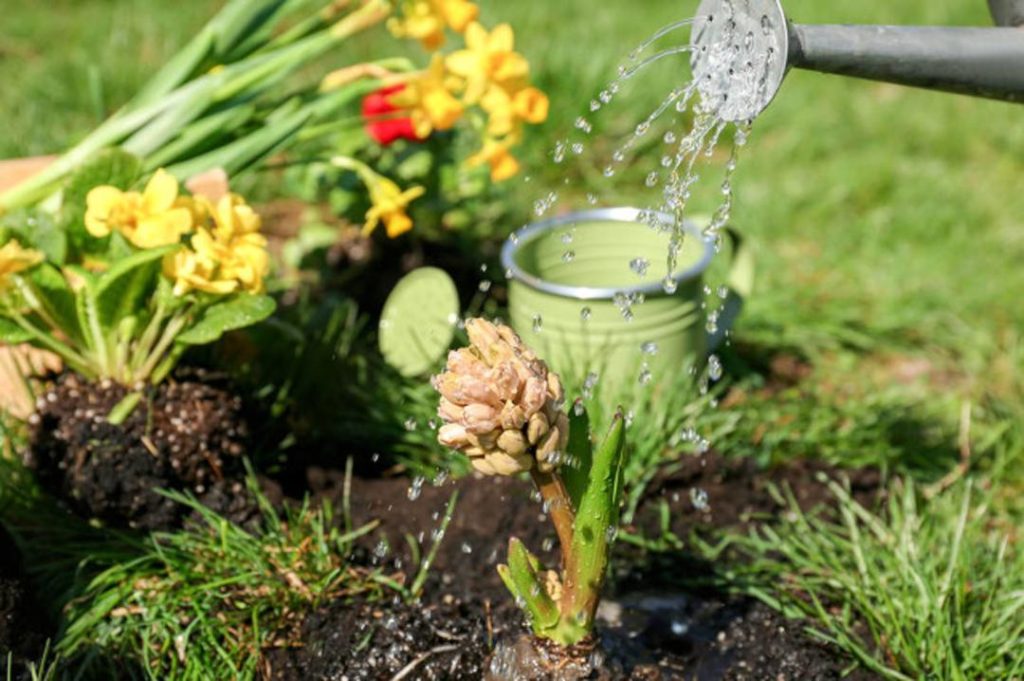
This kind of self -made kettle is small in water and does not flow into the fleshy leaves, causing rotten heart, rotten stems, and rotten leaves. It is better than the fleshy kettle bought by spending money.
Step 8
Of course, if the above operations are troublesome, you can put a hole directly on the bottle cap and insert the straw into the entrance of the hole.
It should be noted that the size of the hole on the bottle cap should be consistent with the diameter of the straw, otherwise it will leak.
Plastic bottle cuttings artifact, 100%root
The cuttings of plastic bottles have introduced a lot of Huahua, but today Huahua taught this method, which is higher than other methods. Let ’s take gardenia flowers as an example to explain in detail.
step 1
Usually develop the habit of collecting plastic bottles, or plastic bottle or drink bottle, don’t throw away!
Step 2
Cut a section of gardenia flowers and semi -wooden branches, the best for half a year to one year. The bottom of the branches is cut with a wallpaper knife at 45 degrees to make the incision show the shape of the horseshoe.
Step 3
Find a foam plate and cut a circle according to the diameter of the bottom of the foam.
Step 4
Drill a small hole in the middle of the foam, then remove the leaves at the bottom of the gardenia branch, and insert it into the small hole of the foam plate.
Step 5
Put the plastic bottle horizontally, cut in the plastic bottle from the top 1/3 position, cut it with a wallpaper knife, pay attention, do not cut the 1/3 of the upper part completely, leave a little, so that the upper and lower parts can be connected to the upper and lower parts can be connected to the upper and lower parts. Together, constantly cracking.
Step 6
Pour the water to the lower part of the plastic bottle, and the water level accounts for about 3/4 of the lower part of the plastic bottle.
Step 7
Put the foam with gardenia branches, plug into the lower half of the plastic bottle, and above the water surface. Ensure that the branches below the bubble are exposed to moisture.
Step 8
Go back the plastic bottle cap in the upper half and wrap the incision with tape. The lid on the plastic bottle was removed.
Step 9
Putting the cuttings of cuttings in the place where astigmatism ventilation is about 2-3 weeks, the branches will grow the root system of white flowers, and there is no need to add water during the period.
Plastic bottle sowing artifact, super fast germination
Autumn! In the seeding season, is the flower friends buying seedling pots and breeding pieces everywhere? In fact, you don’t need to spend that injustice, your plastic bottle is a super -useful seed artifact!
step 1
Prepare 1 plastic bottle, as shown in the figure, horizontal, upper and lower, and average cut into three parts.
Step 2
The bottom plastic bottle is filled with soil, poured through, and then sprinkled with seeds,
Step 3
Seal the incision with plastic wrap, moisturize and heat, wait for 1-3 weeks, the seeds will germinate!
Step 4
After all the seedlings are sent out, you can tear off the plastic wrap! But the seedlings are too weak to stand the wind and low temperature. At this time, the 1/3 of the plastic bottle we cut can be used! As shown in the figure, like a hat, just cover it, not only to increase humidity, but also protect the seedlings.