Air layering needs healthy branches and a method suited to the plant. Keep the wrapping secure and assess roots rather than expecting a five-day result.
Osmanthus normal pressure bar
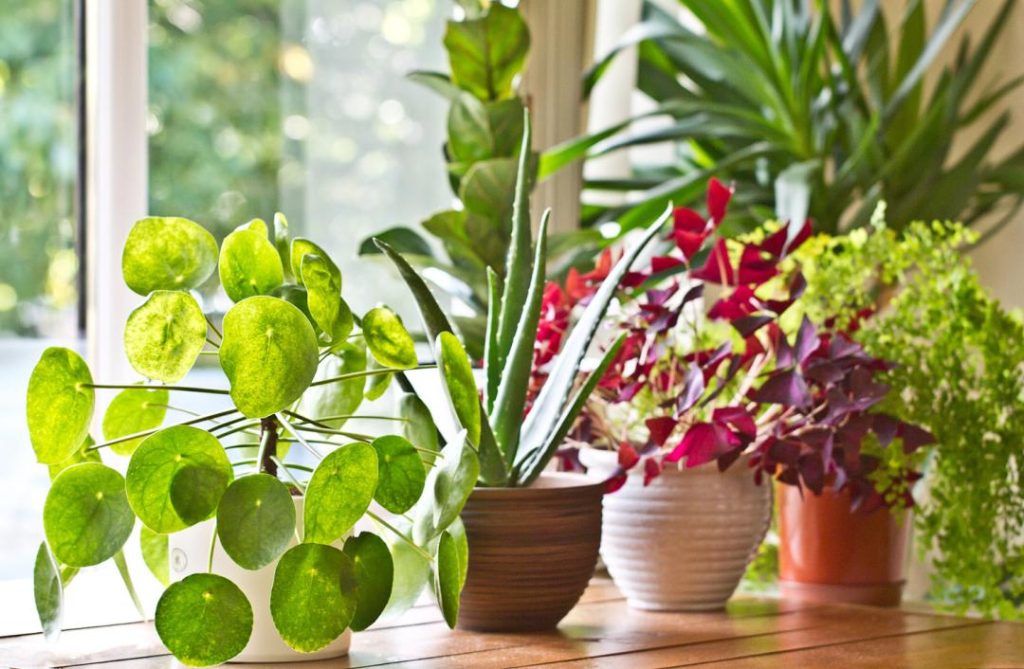
Ordinary pressure strips are the easiest way to press the bars. It is suitable for those branches that can be bent down. Generally, this method can be used.
Steps:
1. Select a strong, branched branch, and lightly strip a wound with a width of about 0.5-1cm at a 1/2-2/3 position of the branch.
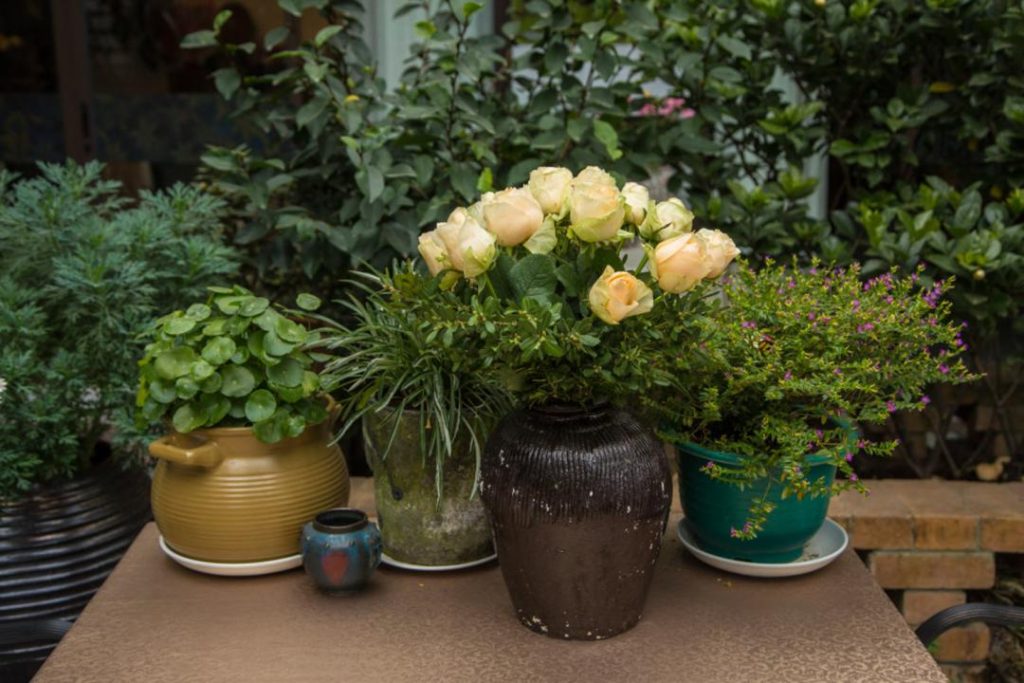
2. Fold the branches and put it directly into the soil. Be careful when bending, avoid suddenly breaking the branches. (If a flower friend wants a easier way, you can also bend the branches directly into another prepared flowerpot so that you do n’t need to transplant the branches after rooting.)
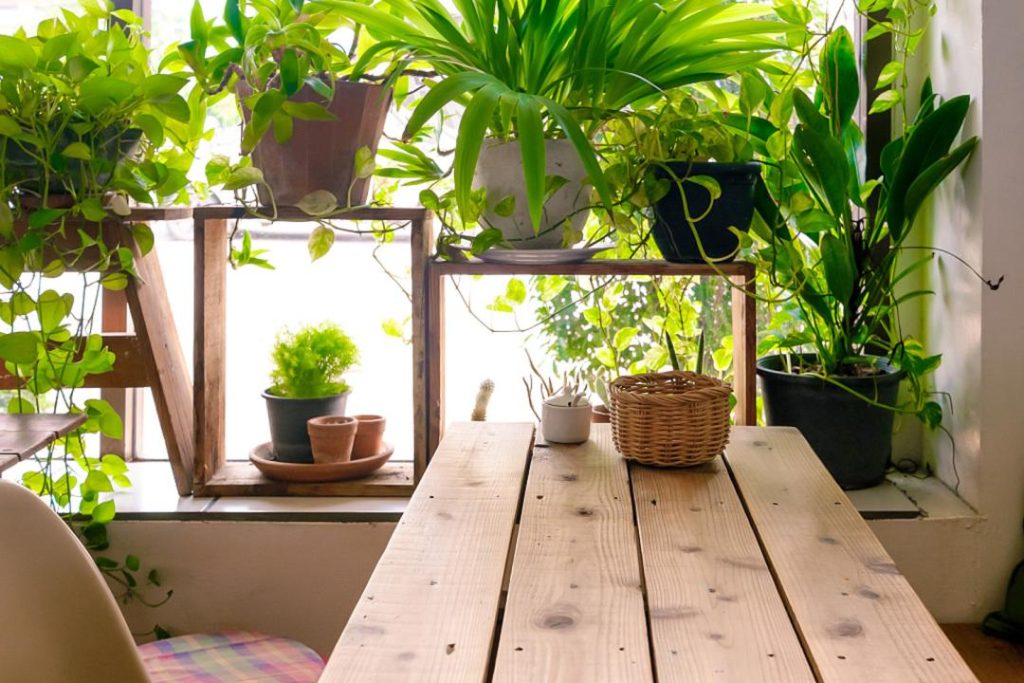
3. Dig a pit on the soil and bury the branches of the circular wound in the soil.

4. After the ringing wound is buried to the soil, a brick can be pressed on it to prevent the branches from being tilted.
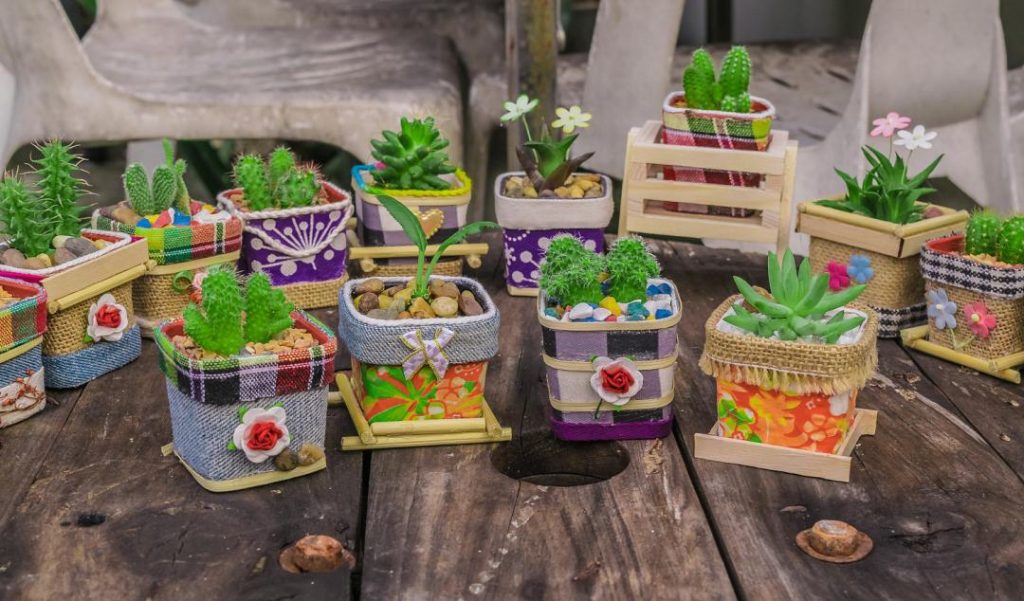
5. If you can't find a brick at home, you can also use the wire to make a U -shaped, and insert it into the soil down to prevent the branches from being tilted.
6. Pay attention to watering to ensure that the soil is moist. With this method of pressing, you can take root in about 15-20 days. Because at this time the branches have not been separated from the mother, the nutrition is still sufficient, and the rooting is very fast. After rooting, cut off the branches and go to the pot.
Jasmine is a multi -pressure method
Sometimes when we press the bar, the branches we choose are relatively long. At this time, we can use a multi -pressure method. Huahua takes Jasmine as an example today.
Steps:
1. Select a strong jasmine long branch, peel 180 degrees on the upper ring of the branch, that is, each node of the branch, only 180 degrees of the ring, leaving half of the skin.

2. Because the selected jasmine branches are relatively long, the rooting points of 1, 3, 5, and 7 can be peeled on the branches, and the growth points of the new branches are left in 2, 4, 6, and 8. If the branches are long enough, a few more nodes can be left between the nodes of the ring, which is conducive to the rapid growth of the new branches.
3. Prepare several plastic bottles, cut the upper part, leave only the bottom part. Poke a small hole in the bottom of the plastic bottle, then put it on the jasmine branches, and then add sand, peat soil and other soils to the plastic bottle. Be sure to let the wounds of the jasmine ring be buried by the soil. Then take a shelf and tie the plastic bottle and shelf together with a tape to prevent the branches from falling down.
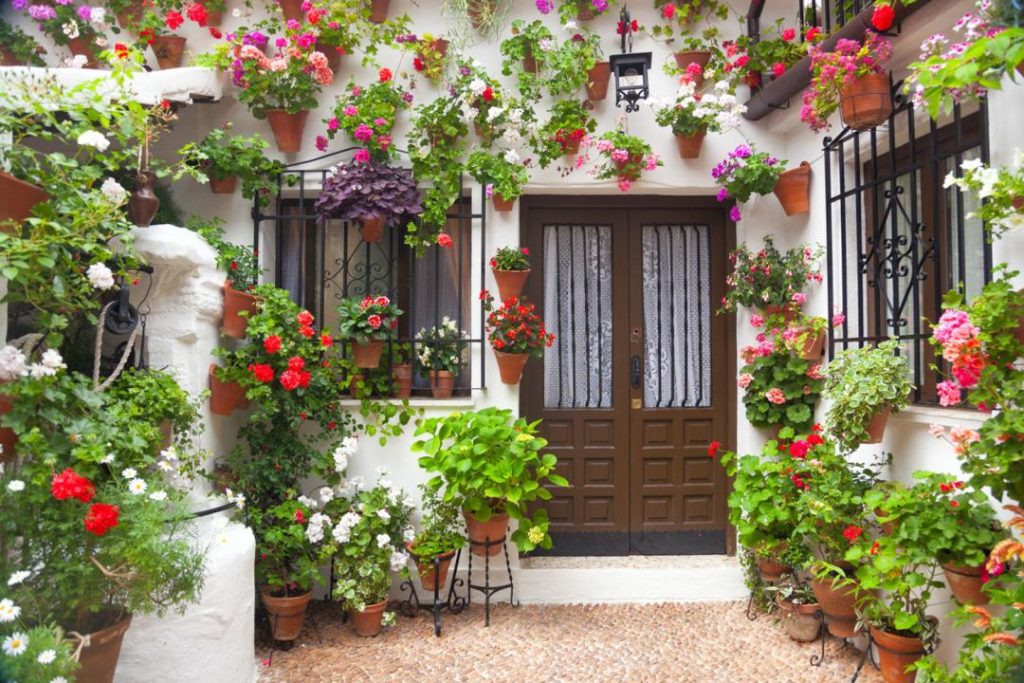
4. About 2 months, the pressed jasmine can grow the root system of white flowers.
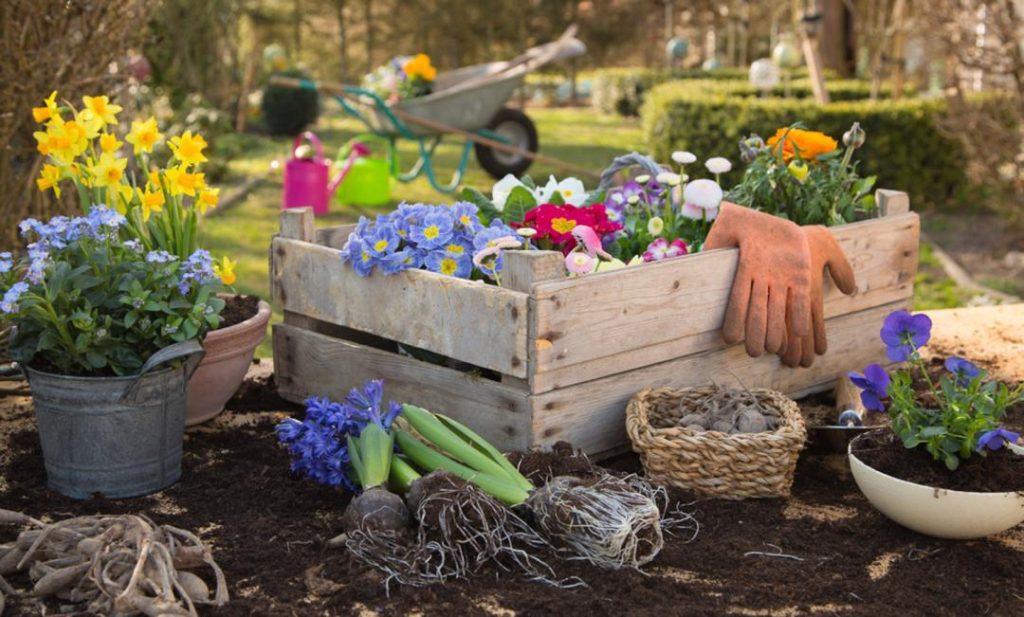
5. Cut off the jasmine branches, and immediately turned into four little jasmine. Is it easier than cuttings?
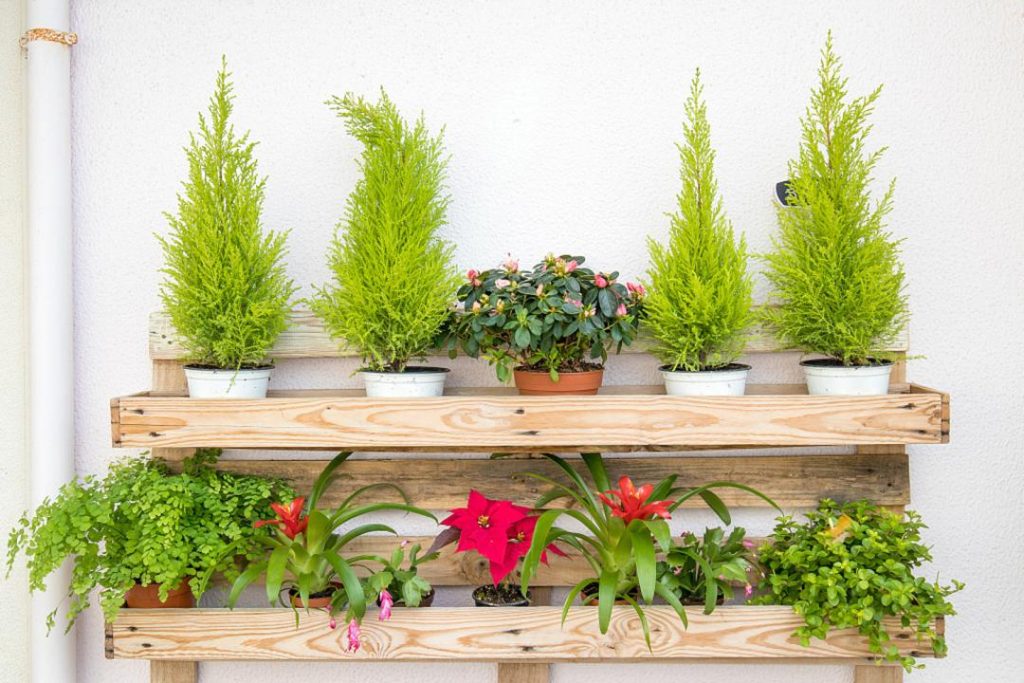
Delta plum high -air pressure bar
High -altitude strips are suitable for some branches that are not easy to bend, such as osmanthus, camellia, magnolia, etc. Huahua takes Delta as an example today to say how to perform high -altitude bars.
Steps:
1. Select the strong branches born from the triangle plum, and then peel the bougainvillea bars that need to be pressed. Skin) Scrape.

2. Dip the root powder with a cotton swab and apply it on the wound peeled out.
3. Prepare a piece of toilet paper, or a paper towel, fold it slightly, and wrap it on the wound of Delta.
4. After the wound of the toilet paper bag is good, spray water with a small watering jog to the paper towel, thoroughly infiltrate the paper towels, and then wrap a layer of plastic wrap or plastic bag to moisturize. After that, the upper ends of the plastic bag are tied up with a thin line, and the lower end should not be too tight, so that the root system can directly get out of the lower end.

5. Finally, pack a layer of newspapers outside the plastic wrap to achieve the purpose of shading. In a dark environment, the branches can stimulate the split growth of cells, and the nutrients of the branches are concentrated at the wound after peeling, so that the branches can take root faster.
6. For 3-5 days, you have to spray the paper towel once to make the paper towel missing water, otherwise it will affect the root of the Delta. It only takes 20-30 days to take root.
7. Break down the root -rooted branches and put it with paper towels. After the operation of high -altitude bars, you can get a new triangular plum potted!
Steps:
1. If you want to press the rose to propagate the rose, it is best to choose the branches born of the year for ring peeling. The wound of the ring peel is about 1cm.
2. Find a plastic bottle, cut off the bottle mouth, and cut two holes on both sides of the bottle wall, so that the branches can pass through the bottle, and finally poke a few small holes at the bottom of the bottle to ensure that there is a drainage hole.
3. Put the soil required for cuttings in the plastic bottle, and then stuff the branches into the gap in the bottle. The peeling part of the rose branches must be included in the bottle. After covering the soil, pour water permeable once. For about 15 days, you can see the rose of the pressing rose.
4. After rooting, cut the branches shortly and go directly to the pot. Just cut the plastic bottle directly before putting on the pot.
Related reading: Grafting in Early Summer: Plant and Growth Checks.