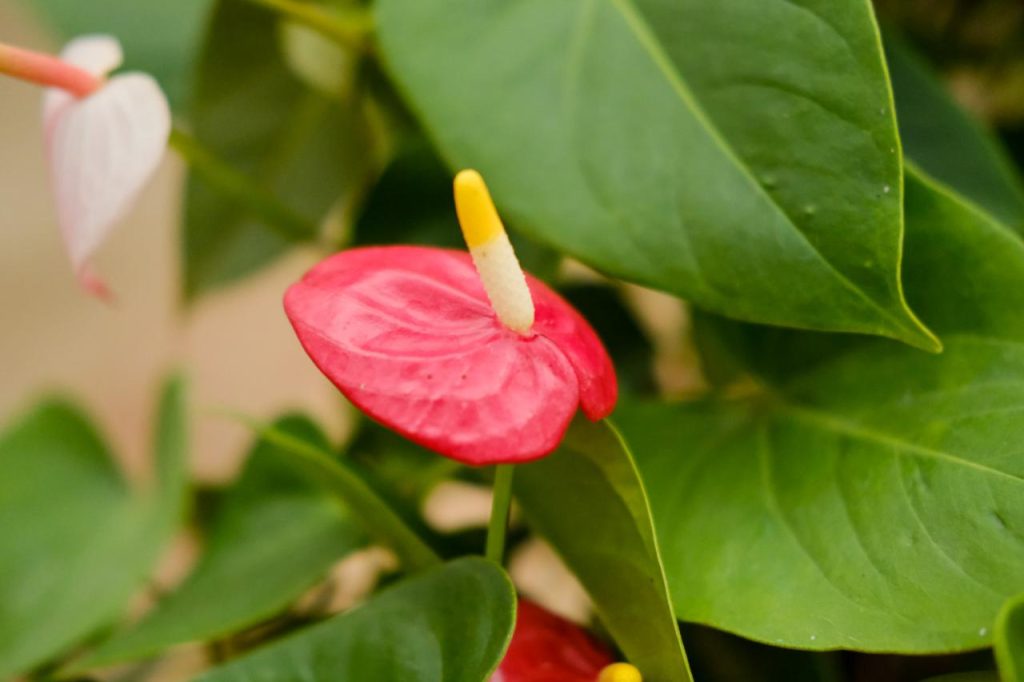
An anthurium's colourful display includes a modified leaf called a spathe. For lasting growth, pay as much attention to drainage and light as to the flowers.
Mix, pot and drainage
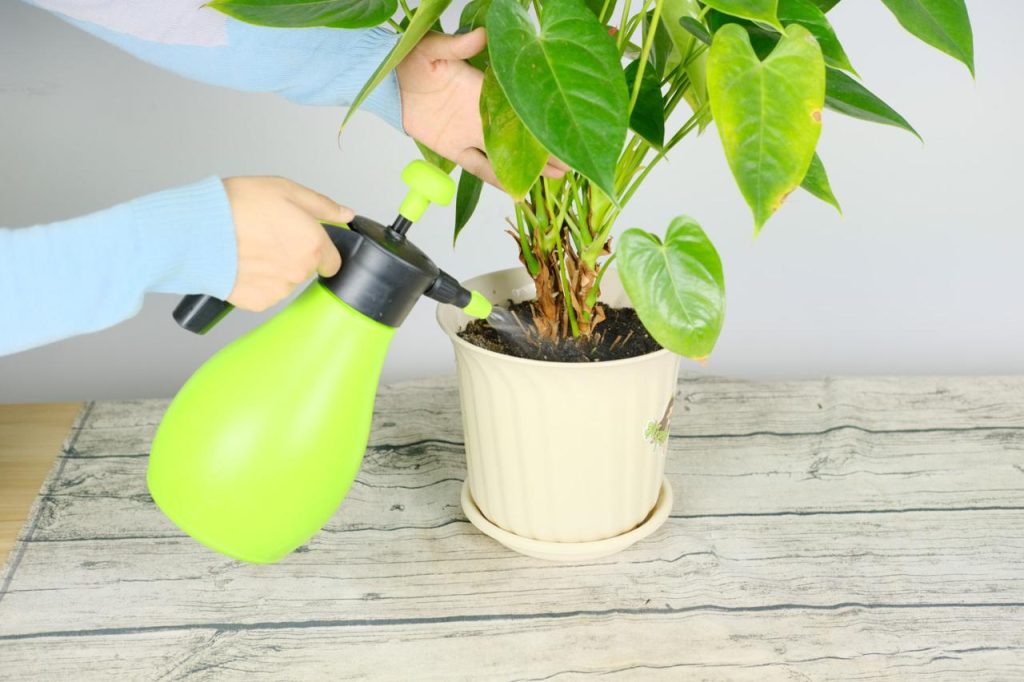
The roots are thick, fleshy and air-hungry, so a bagged general compost needs opening out. The working fix is to add coarse material to it, in the region of two parts expanded clay to one part dried bark, and to treat drainage as the priority rather than fertility. A pot that stays wet is not a slow problem with this plant, it is a root problem.
Before planting into reused or home-saved mix, disinfect it. The reason is pest pressure rather than disease: an anthurium in a warm humid pot is a comfortable host, and starting clean removes most of the trouble in advance. The options are compared at how to disinfect potting soil.
Heat, water and the humidity switch
Growth runs from 14 to 35 °C, which is a wide band, but the edges are unforgiving. Below 10 °C in winter the plant takes chilling damage and needs moving somewhere warm; above 35 °C in summer, damp the air and the floor around it rather than pouring more water into the pot.
Check the anthurium's medium before watering and let excess water escape. The interval will change with light, temperature, growth and the container; a seasonal day-count is only a rough observation, not a prescription.
Humidity is the variable that decides leaf quality. Above 28 °C it needs raising by hand, with a humidifier or by damping down the surroundings. Below 20 °C, ordinary indoor air is adequate and extra misting stops being helpful. Winter is the season to leave it alone even in a warm room, since cold wet leaves are the route to damage.
Feeding, and what the leaves cannot take
Feeding demand is high for a flowering house plant, and magnesium in particular is the element growers single out. A proprietary foliar compound from a garden shop does the job, or a water-soluble fertilizer made up as a liquid feed and applied weekly through growth. The governing principle is weak solutions: over-strong fertilizer burns the roots, and it is far better to feed often at half strength than occasionally at full. The dilution argument is worked through at liquid fertilizer.
Pests are the usual suspects, with red spider mite and root nematode the two that matter most, alongside aphids, thrips, snails and occasional mildew. The precaution that is genuinely specific to this plant is chemical sensitivity. Use the lowest effective concentration of any spray, and avoid copper-based products altogether, including Bordeaux mixture, which the foliage reacts to badly. Before treating, confirm what is actually on the leaves, as discussed at aphids on houseplants.
Cutting back
Remove spent bracts, yellowing leaves and tired stems as they appear, since the plant pays for holding them. Growers shaping a specimen talk about adjusting the direction of the remaining growth and cutting only what spoils the outline, which keeps the plant low and full rather than leggy. A support ring does more for the shape than a hard prune.
Related reading: Phalaenopsis at Home: Light, Roots and Watering.