Pine needle soil, sometimes called pine needle leaf mould, is a type of rotted leaf compost. Specifically it is the material that builds up on the floor of a pine wood as needles fall, mat together, and break down over a couple of years. It is a legitimate potting ingredient and a lot of people who think they are using it are not.
The mistake almost everyone makes
There are three things under a pine tree and only one of them is pine needle soil.
The top layer is last autumn’s needles. Brown, intact, still flexible, often stacked several centimetres deep. That is mulch material, not compost, and it will keep on decomposing in your pot in a way that steals nitrogen and heats roots.
Below that, scraped clear of the needles, is the actual layer: black to dark brown, crumbly, no recognisable needle shape, breaking apart in your fingers like coffee grounds. That is the stuff worth collecting. If you cannot tell the two apart in your hand, the material is not ready.
The third thing is the mineral sand or soil underneath the humus layer. It is common to dig into a pine wood, scoop up pale gritty earth, and call it pine needle soil because of where it came from. It has no organic content worth mentioning and it is the least useful of the three.
Is it acidic?
Commonly claimed, commonly overstated. Fresh pine needles are mildly acidic and the litter layer directly beneath them can be too, but the difference is not dramatic and it narrows as the material composts down. Finished leaf mould of any kind sits reasonably close to neutral. The practical position: collected pine needle material is a little on the acid side of most bagged composts, which is helpful for plants that want it and is not a substitute for peat or ericaceous compost if you are growing blueberries.
Test it if it matters. A cheap pH meter or a cabbage-juice test will tell you more about your particular wood than any general rule.
Which plants it suits
What pine needle leaf mould brings to a mix is structure, air space and modest nutrition, in the same way any well-rotted leaf mould does. It is loose, it drains, and it holds moisture without going slimy. That makes it useful anywhere you want a root run that stays open.
- Clivia and other thick-rooted pot plants, which need air around the roots and will rot in a fine dense compost.
- Orchids grown in pots, blended with bark and charcoal.
- Succulents and cacti, sieved to remove the coarse bits and blended with grit.
- Any plant that wants loose soil but that is not fussy about pH.
Do not use it alone. Straight leaf mould has very little feeding substance in it and it dries out faster than a proper mix. Blend it with some loam-based garden soil or a bulkier compost, and the mix will hold together and feed the plant as well as draining it.
The part nobody bothers with: cleaning it up first
Material dug out of a wood is wild. It carries insect eggs, slugs and their eggs, fungal spores, bacteria, and whatever the local dogs and deer contributed. It also carries twigs, seed pods and root fragments. Put it straight into a pot of something you are growing indoors and you are seeding a pest problem you will spend the spring chasing.
Two steps fix it.
Sieve it. A 6 mm mesh takes out the twigs and the undecomposed needles, which is also the easiest way to separate the useful material from the stuff that isn’t ready yet. The coarse fraction you remove is not waste. It makes a decent surface mulch on outdoor pots.
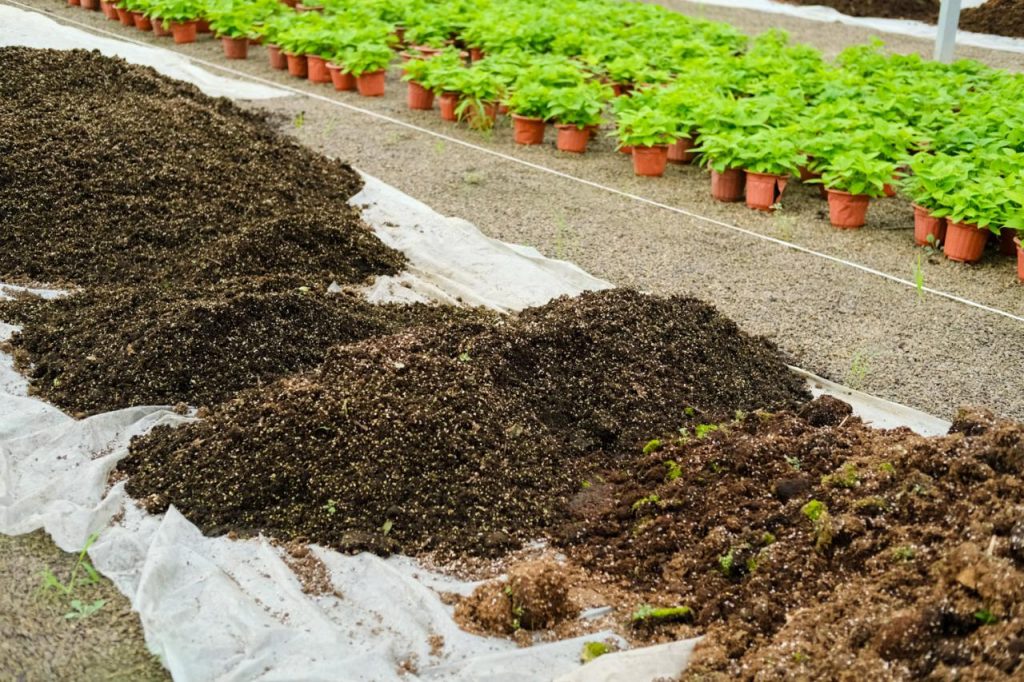
Sterilise it. The method that works without a kiln is heat and time. Moisten the sieved material, spread it no more than 5 cm deep on a tray or in a black plastic bag, and hold it somewhere genuinely hot through a summer week, or bake it in an oven at around 80 to 90 °C for 30 minutes in a foil tray. The oven method kills the useful biology along with the harmful biology, so it is worth doing only for seed-raising and potting up plants that will sit indoors. For outdoor pots, screening plus a hot month in a sealed bag is usually enough.
Where to collect, and where not to
Take it from the floor of a wood, in thin patches, from under mature pines, and leave the needle layer intact wherever you are working. It is the mulch that protects that ground and it regenerates slowly.
Avoid roadside pines entirely. The litter there collects brake dust, tyre wear and whatever sprays off lorries, and none of it washes out. Same for the ground under a tree that has been sprayed, and for anything collected from a public planting in a town centre.
Material from a bag is a reasonable substitute if you have nowhere to collect from. Composted pine bark does most of the same jobs and arrives free of the insect eggs you would otherwise have to bake out; whether bark can be used on its own is worth reading before you fill a pot with it.
How to use it once it’s ready
Start with roughly one part pine needle leaf mould to two parts bulk compost or loam, and add grit or perlite if the plant in question wants sharper drainage than that. Check the mix after a month in the pot. Leaf mould continues to break down, so a mix that was open when you potted can settle and tighten over a season, which is the reason to blend it with something structural like bark rather than relying on it alone.
It is free, it is better drainage material than most cheap bagged composts, and it is worth collecting for the plants that like an open root run. Just be honest about which layer you are digging up.
Plants with thick, air-hungry roots get the most out of it. That includes hoyas, phalaenopsis, and anything else you would otherwise have to keep underwatering to keep alive.
Pingback: Campsis Grandiflora Care: Sun, Water, Feeding, Pruning
Comments are closed.